
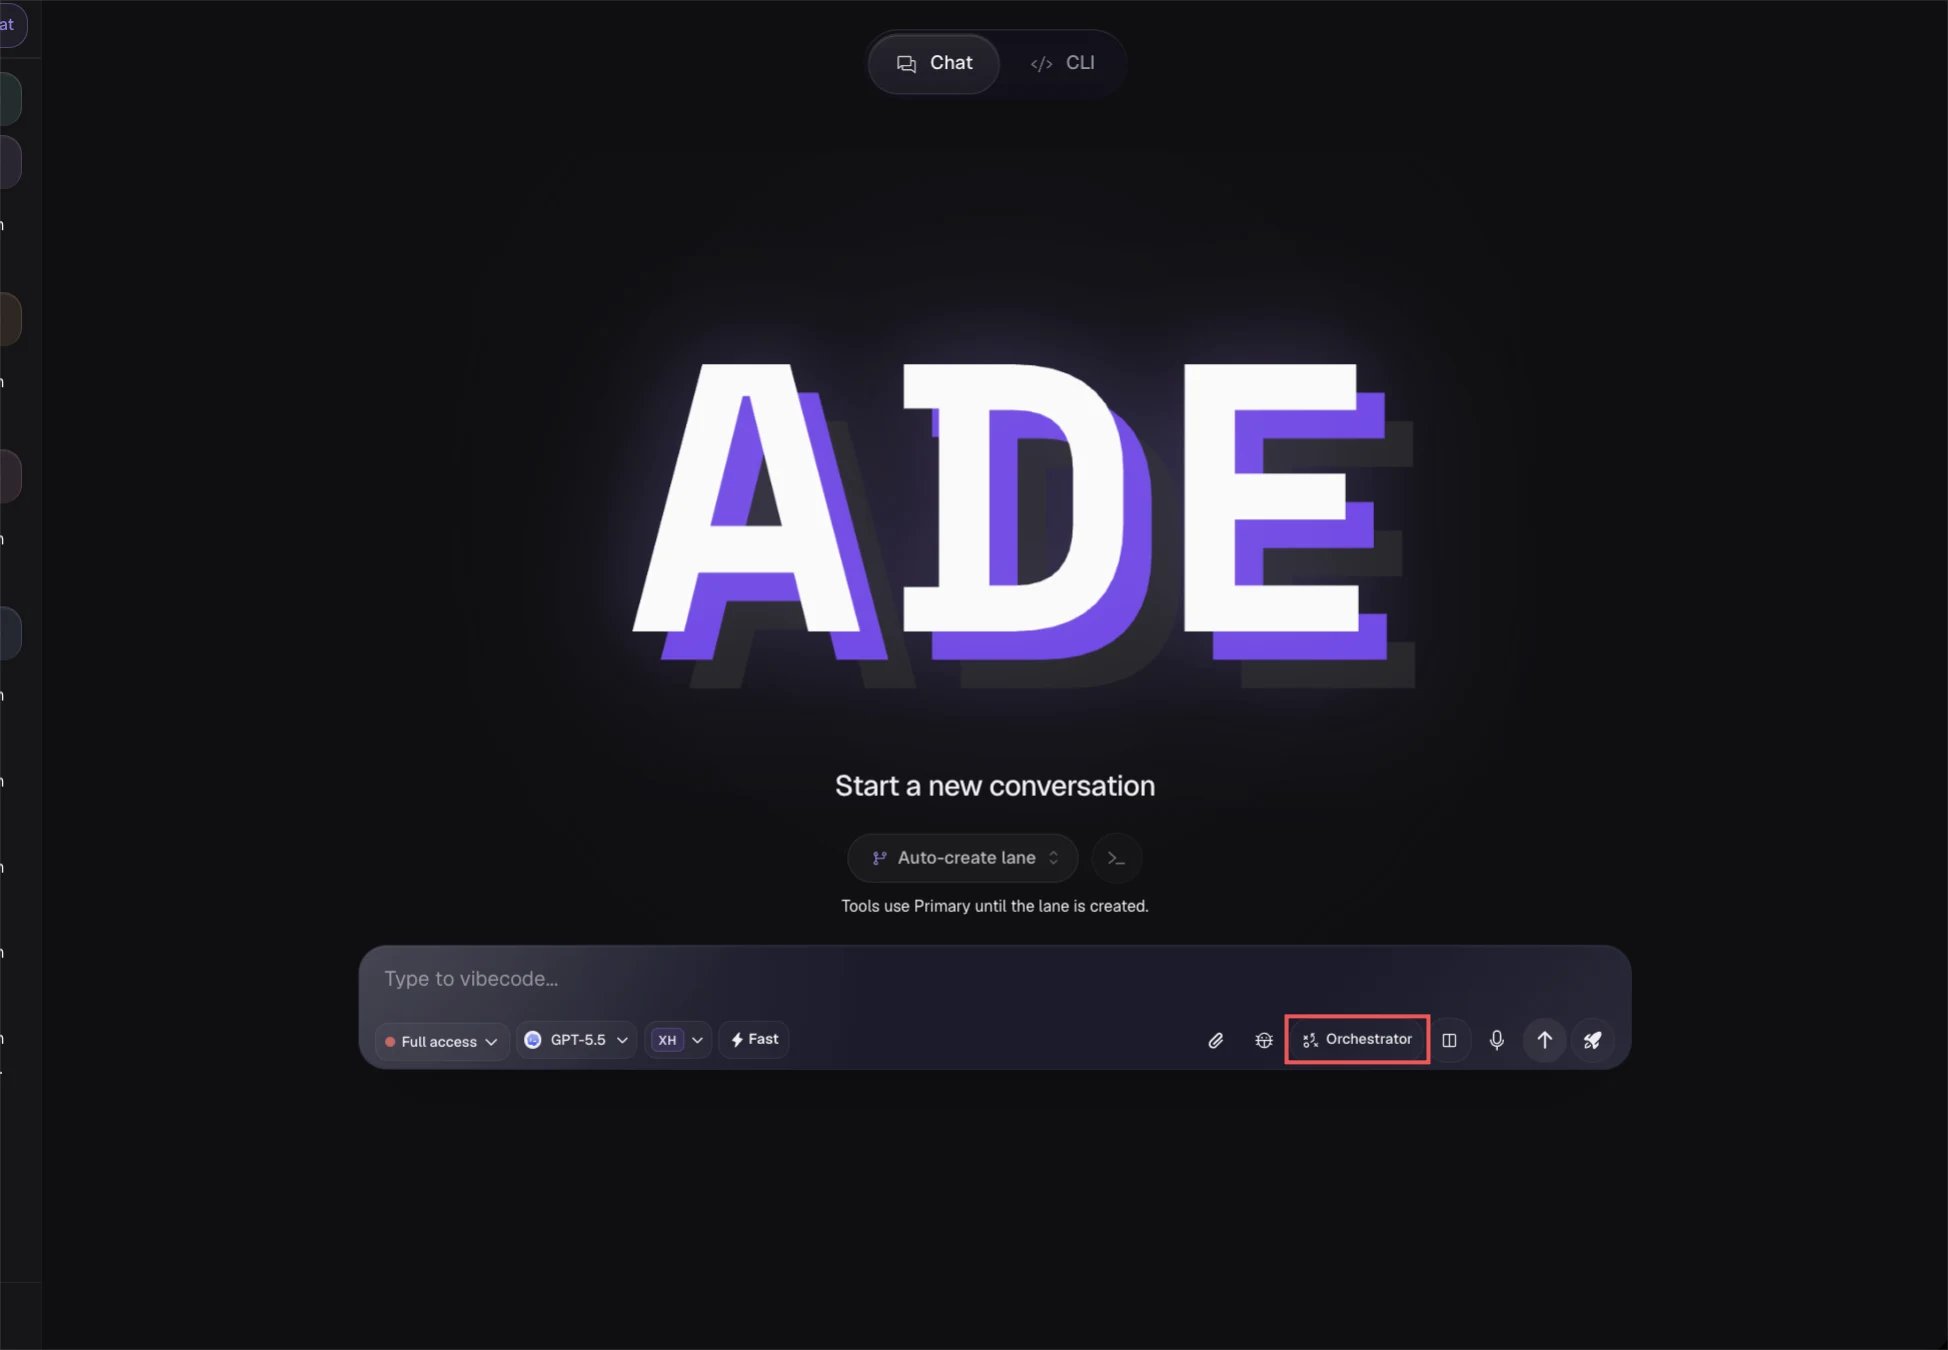
Start the CTO from a chat and let it operate across the project.
First run
The first time you open the CTO tab, a short wizard asks you to pick a personality preset — the only required step. Everything else is deferred to Settings and the relevant tabs.1
Pick a personality
Choose a preset — strategic, professional, hands-on, casual, minimal, or custom. Custom lets you write your own overlay. This sets the CTO’s tone; its core doctrine is fixed by ADE and not editable.
2
Choose a model (optional)
In CTO Settings, set the provider, model, and reasoning effort. The CTO reasons across the whole project, so favor a capable model over a fast one. Until you pick one, the CTO uses the project’s default model.
3
Connect GitHub
Recommended for PR summaries, CI explanations, and review follow-up across lanes.
4
Connect Linear (optional)
Connect it when issues should drive lanes, PRs, and status updates. See Linear.
5
Add workers (optional)
Create worker identities for recurring responsibilities such as testing or review. See Workers.
Setup finishes without Linear, a model choice, or any workers — those connect later. The CTO is meant to be a daily chat surface first.
Personality presets
The preset shapes the CTO’s communication style. The underlying operator doctrine and capability set are owned by ADE and stay fixed across presets — you’re choosing tone, not rewriting the agent.Strategic
Big-picture framing and trade-offs.
Professional
Measured, businesslike updates.
Hands-on
Pragmatic and execution-focused.
Casual
Relaxed, conversational tone.
Minimal
Terse, low-noise replies.
Custom
Write your own personality overlay.
First useful prompts
Lead with planning and summarization before delegation — that’s where the CTO earns its keep.Workers
Manage the delegated agent identities the CTO assigns work to.
Linear
Connect Linear so the CTO can triage and route issues.